

Internal ceiling crack repairs: causes and repair options
Need help with a cracked ceiling? A fine line in the plaster does not always signal a serious problem, but the right internal ceiling crack repairs depend on the cause and whether the damage is changing. Look for signs such as widening, sagging or damp nearby, and do not simply paint over a fault that may still be active.
It is understandable to want a neat finish quickly. Hairline cracks can often be filled, sanded and painted once the underlying cause has been addressed. Wider cracks may need reinforcement, while recurring or spreading damage calls for assessment before repair.
This guide explains common causes, warning signs that mean you should seek help, and how to approach hairline crack repairs and repainting. It also explains why leaks and damp need attention first, so the repair is less likely to show through again.
Table of Contents
Building settlement and structural movement
Settlement and structural movement can pull a ceiling out of its original position, leaving cracks in plaster or along joints. The crack’s direction, whether it is growing and any nearby damage can help distinguish movement from a surface fault.
Buildings can move as their materials respond to changing conditions. A crack may appear where a ceiling meets a wall or run diagonally from a corner. Pay attention if the pattern keeps changing or appears alongside other signs, such as doors that suddenly stick or cracks in nearby walls. A single fine line cannot identify the cause on its own.
Look at the whole room, not only the mark overhead. Note whether the ceiling appears uneven, whether plaster is separating from its support, and whether nearby walls show matching cracks. A leak can also weaken plaster and complicate the picture. If water marks accompany the crack, the source needs attention before cosmetic filling. We are a trusted Property Maintenance company providing reliable, high-quality services across London and Kent, and understanding how water ingress affects property structures can help explain why the leak itself matters.
Older finishes need careful handling too. Textured Artex ceilings finished before 2000 may contain asbestos. Don’t sand, cut or scrape a suspect surface as part of internal ceiling crack repairs. Disturbing the coating can release hazardous fibres, so have the material assessed before work affects it. This is separate from diagnosing movement, but it changes what repair work is safe.
When to Seek an Engineer
A structural engineer can assess whether a crack points to movement affecting the building, rather than damaged plaster alone. Arrange an assessment if a crack is widening, reappears after repair, crosses adjoining surfaces or comes with noticeable distortion. A dipping ceiling or a crack that coincides with damage in a wall also needs proper assessment. An engineer can examine the pattern and surrounding structure before you settle on a cosmetic repair.
Risks and Urgent Warning Signs
Ignoring a changing crack can allow its underlying cause to continue, while loose plaster may fall and cause injury. Treat a sagging or bulging ceiling, falling material or a rapidly growing crack as urgent. Keep people away from the affected area if the plaster looks unstable. A damp patch beside a crack also needs prompt attention, because ongoing water ingress can weaken the ceiling further.
Preventing Cracks from Returning
Prevent repeat damage by correcting the cause rather than hiding the line with filler. Resolve leaks and damp, and address identified movement before decorating. Then choose a repair suited to the ceiling material and extent of damage. For example, filling a crack while moisture is still affecting the plaster leaves the original problem unresolved. A sound assessment helps guide a lasting repair.
Need Help with a Cracked Ceiling?
Old lath and plaster ceilings need repairs suited to their construction. The condition of the timber backing matters as much as the visible crack.
Lath and Plaster Ceiling Issues
Lath and plaster ceilings are made from narrow timber strips, called laths, covered with layers of plaster. The plaster keys through gaps between the laths to hold in place. Cracks can form when those keys break or the plaster loses its bond. A hairline surface mark is different from a loose area that moves or sounds hollow when assessed.
Look for bulging, crumbling edges and plaster separating from the ceiling. For example, a crack beside a sagging patch suggests more than a surface blemish. Don’t press or pull at loose material. Keep the area clear if plaster appears unstable, and arrange an assessment before filling or decorating. If the ceiling has a textured Artex finish applied before 2000, it may contain asbestos. Avoid disturbing it during inspection or repair.
Repairing Lath and Plaster
Repairing lath and plaster means securing sound material and addressing loose or damaged sections. The right method depends on whether the laths are firm and the plaster remains bonded to them. Filling only the visible line will not stabilise detached plaster. Start by identifying the extent of the loose area and checking the backing, then choose between a local repair and broader replacement.
For a contained crack, a tradesperson can remove loose plaster around the damaged edge and rebuild the surface with compatible materials. If the laths have failed, they may need repair or replacement before new plaster is applied. Drying and preparation matter too: paint applied over damp or dusty plaster can fail. If water staining accompanies the crack, resolve the leak before repairing the ceiling.
Assessing Ceiling Damage
The work needed depends on the ceiling’s condition and repair method. A stable, localised crack differs from a damaged section with loose plaster or failed laths. The extent of removal, access to the ceiling and the finish needed all affect the work involved. An inspection can establish whether local repair is suitable or wider reinstatement is needed.
Home insurance cover for an internal ceiling crack depends on the policy wording and the cause of the damage. Check the buildings-cover terms and report related water damage through your insurer’s claims process. For example, a crack alongside a leak may require attention to the water source as well as the ceiling repair. Keep records of the visible damage and any changes while your claim is considered.
For a ceiling crack wider than a hairline, use mesh tape as part of the repair. First assess the plaster and backing, since tape alone cannot resolve loose plaster or failed laths. The repair method should suit the ceiling’s condition.
Hairline cracks at plasterboard joints
Hairline cracks often follow the seams where plasterboard sheets meet. Their position can indicate whether the joint finish needs attention.
Plasterboard sheets are joined with tape and jointing compound, then covered with a smooth finish. A hairline line can appear if the joint compound shrinks, the tape loses its bond, or the boards move slightly. These cracks are often less than 0.2 mm wide. A crack that follows one straight seam differs from a branching mark across the ceiling.
Check the pattern before choosing a repair. A fine, stable line along one board joint may be a local finishing issue. A crack that returns after filling, spreads across several seams or appears with a dip needs closer assessment. Peeling tape, loose compound and a ridge along the seam also suggest the joint needs more than paint.
Plasterboard edges rely on a sound joint to create a continuous ceiling. If the joint tape has lifted, fresh paint will not secure it. The repair needs to remove loose material and restore the joint’s bond. Mesh tape can reinforce a crack wider than a hairline. Choose tape and compound suited to the damaged joint.
Preparation affects the final result. Loose paint and compound can stop new material adhering, while dust can leave a rough finish. A repairer assesses the crack, removes unstable edges and applies jointing material in controlled layers. Let each layer dry before sanding or covering it. Rushing this sequence can leave a visible ridge or a line that reappears beneath the paint.
Check whether the crack is isolated or part of a wider pattern. For example, a line along one seam with firm surrounding plaster calls for a different repair from several cracks crossing the ceiling. Damp staining near a joint also changes the assessment, because the moisture source needs attention before decorating. Do not treat a ceiling affected by a leak as a simple dry joint.
After repair, the surface should blend with the surrounding ceiling. Careful sanding smooths the joint, but excessive sanding can expose tape or damage the board’s paper face. A suitable primer helps create an even base before repainting. If a narrow line returns, do not keep layering filler over it. Repeated failure can indicate movement, weak adhesion or another issue that needs addressing first.
For lasting internal ceiling crack repairs, match the method to the joint’s condition. A stable hairline seam may need local preparation and refilling, while loose tape or wider damage needs reinforcement. Identify the cause, secure the joint, let the compound dry, then finish the surface. This helps prevent a quick cosmetic fix from failing again.
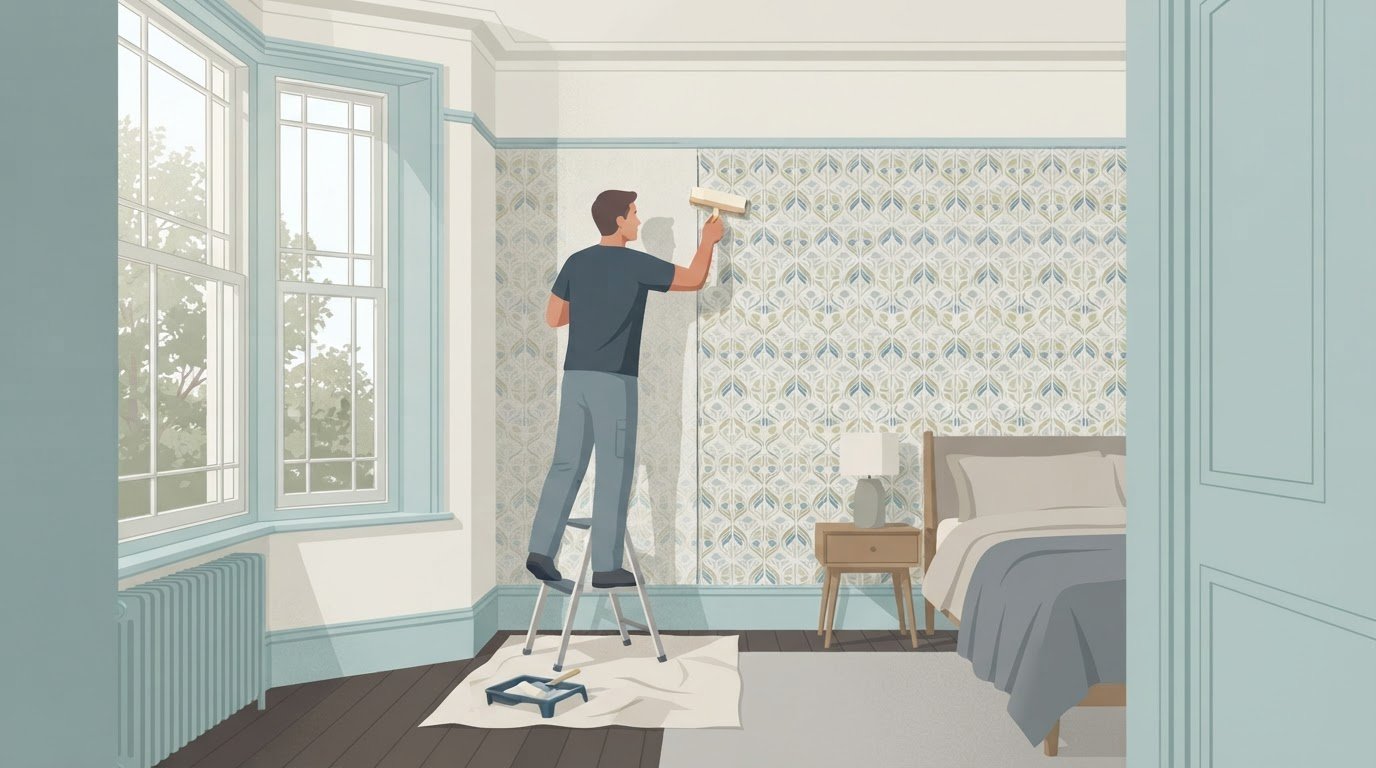
Preparing and painting a repaired ceiling
Paint lasts best when the repair is dry, smooth and stable. Fix leaks and damp before redecorating, or the crack may return beneath the finish.
Start by checking the repaired area and the surrounding ceiling. If the plaster feels damp, looks discoloured or has fresh water marks, pause decorating. Find and resolve the moisture source first. For example, a patched ceiling above a bathroom may need a leak repaired before filler or paint can hold properly.
Once the surface is dry, remove loose paint and any crumbs of filler. Sand raised edges until the repair sits level with the surrounding plaster. Avoid sanding textured Artex that may contain asbestos, especially if its finish predates 2000. A suspect coating needs proper assessment before disturbance.
Remove sanding dust with a soft brush or suitable cloth. Dust on the ceiling can prevent primer or paint from bonding evenly. Check the repair in good light, because a ridge beside a crack may disappear from one angle but show clearly after painting. Fill any remaining shallow dips, let the filler dry, then sand again.
Prepare exposed plaster before applying the finish coats. A mist coat helps seal bare plaster and provides a base for emulsion. Follow the paint maker’s instructions for mixing and application. Do not paint over filler that still feels damp, as the finish can dry unevenly or show a dull patch.
Apply a mist coat to exposed plaster, following the product instructions.
Let the coat dry as directed before adding further paint.
Apply two coats of emulsion, allowing each coat to dry between applications.
Use a brush to paint neatly along the repaired line, then a roller for the wider ceiling area. Keep a wet edge as you work across the surface to help reduce visible lap marks. For example, painting only a small square around a repair can leave a noticeable difference in colour or sheen.
Match the finish as closely as possible. Even the same paint can look different if the existing ceiling has faded or collected marks. Painting the full ceiling may create a more consistent appearance than touching up one patch. Let each coat dry fully before judging the final colour, especially in a room with changing daylight.
If the crack shows through again, do not keep adding paint. A returning line can point to movement, poor adhesion or a repair that needs further work. Reassess the surface before repeating the decorating process. Good preparation, a dry surface, a mist coat and two emulsion coats help create a sound finish.
Repairing and filling hairline cracks
Fill a stable hairline only when the ceiling surface is sound and dry. For a plasterboard joint, remove loose material, reinforce the seam where needed, then apply jointing compound.
Filling Hairline Cracks
Filling a hairline crack means applying suitable filler to a clean, stable surface. This creates a smooth base for primer and paint instead of merely hiding loose edges.
First, use a filling knife to remove flakes of paint and loose filler, taking care to keep the surrounding plaster intact. Brush away dust, then press suitable filler into the crack. Draw the knife along the line to leave the filler level with the ceiling. A shallow crack may need one application; a deeper groove may need another once the first has dried.
Follow the filler’s drying instructions before sanding. Use fine abrasive paper and light pressure, as aggressive sanding can create a dip around the repair. Gently run a clean hand across the area to feel for ridges. If the crack opens again, stop filling and reassess the cause before decorating.
Repairing Plasterboard Joints
A plasterboard joint repair restores the taped seam between adjoining boards. This matters because filler alone may not hold if the tape has lifted or the joint keeps moving.
Remove loose compound and detached tape, then check the exposed seam. Apply jointing compound and embed fresh tape over the joint, smoothing out trapped air. Mesh tape can reinforce a crack wider than a hairline. Cover the tape with another layer of compound, feathering the edges onto the surrounding board to avoid a raised strip.
Let each layer dry before adding the next or sanding. If replacing a damaged plasterboard section, allow 2cm to 5cm excess beyond the hole when measuring the patch. Secure the patch appropriately, then finish its edges with tape and compound. A joint that remains unstable needs assessment before another surface repair.
Repair Materials and Tools
Materials and tools are used to prepare, fill and finish a ceiling crack. Choosing items suited to the damage helps prevent a rough repair or weak joint.
For a simple hairline, gather filler, a filling knife, fine abrasive paper and a dusting brush. A plasterboard joint may also need jointing compound and mesh tape. A damaged board patch requires a measured piece of plasterboard and suitable fixings. Set aside primer and emulsion for the finishing stage, after the repair has dried.
Use a stable work platform and protect the floor before starting overhead work. A torch can help reveal shallow dips and ridges across the ceiling. Keep tools clean between coats, as dried compound on a filling knife can leave grooves. If a crack keeps returning, have the joint assessed before applying more filler.
Property maintenance support for ceiling repairs
We are a trusted Property Maintenance company providing reliable, high-quality services across London and Kent for homeowners, letting agents and property managers. If a ceiling crack appears alongside a leak, local plumbers can help resolve the plumbing issue, while the ceiling still needs an appropriate repair assessment.
Consider professional support when a crack returns, its cause is unclear, or several repairs need coordinating. Addressing the underlying issue before cosmetic work can help prevent damage to a fresh finish. Contact the property maintenance team to discuss the next step for your repair.
Choose the right next step for your ceiling
Before arranging cosmetic work, consider whether the crack is stable or changing. Fresh damage, sagging or a leak alongside the crack calls for attention to the cause, not simply another coat of paint. If plumbing contributes to the damage, a plumber can address that part of the problem.
The right repair depends on the ceiling’s condition and the work needed. Where the cause is unclear or the crack keeps returning, contact the property maintenance team to discuss a suitable next step. A considered assessment helps you plan the repair with confidence.
Frequently Asked Questions
What causes cracks in internal ceilings?
Internal ceiling cracks can result from movement, drying materials, weak joints or moisture. For example, a crack beside a bathroom ceiling may follow a leak, while a straight line over a plasterboard seam may relate to joint movement. Changes in heating or humidity can also affect building materials. The crack’s position and any damage to nearby surfaces can help narrow down the likely cause.
How can I tell if a ceiling crack is cosmetic or structural?
A crack is more concerning when it changes, crosses adjoining surfaces or appears with a dipping or bulging ceiling. A fine, unchanged mark confined to a plasterboard seam may be a surface issue, but appearance alone cannot confirm the cause. Note changes over time and look for related signs, such as sticking doors or cracks in nearby walls. Seek an assessment if the damage spreads or the ceiling looks unstable.
How do I repair a hairline crack in a plaster ceiling?
For a stable, dry crack, remove loose paint or plaster, clear away dust, then press suitable filler into the line with a filling knife. Smooth it level and let it dry according to the product instructions. Sand gently before priming and painting. If the plaster moves, sounds hollow or crumbles around the crack, filling the surface will not secure it. Have the damaged area assessed before decorating.
Can I repair a ceiling crack myself or should I hire a plasterer?
You may be able to fill a small, stable surface crack if the surrounding plaster is firmly attached and it is safe to work overhead. A plasterer is a better choice for loose plaster, damaged joints, a large patch or a repair that keeps failing. For instance, a crack running across several sections of ceiling needs more investigation than a short mark in sound plaster.
How long does ceiling crack repair take, and when can I paint over it?
The time needed for repair and decorating depends on the crack’s size, the materials used and how long each layer takes to dry. A small fill may need less work than a taped plasterboard joint or a patch requiring fresh plaster. Paint only when the repair is fully dry, smooth and free from dust. Follow the filler, plaster and paint instructions, as drying conditions vary between rooms.

Comments